Showing posts with label Photoshop. Show all posts

Sunday, October 14, 2018

Pixel Icons for Desktop Organization.

Hey everyone!  So whenever it is possible, I'll like to post up weekly updates of anything artistic I've done.  Could be a bunch of random stuff or more professional works; in any case, it'll be about restarting my routine of reaching out with my artworks.
Last week while I was organizing my desktop files/folders, I learned that you can customize my icon images, by opening the 'Get Info' window, then selecting the icon image and pasting a new image for the icon. Maybe you can overlay a new image that better associate with the file/folder's content than the generic default icon image. So I ended up spending my whole day off doing pixel icon images to better identify my files/folders by sight.


 Some of them you may see being more blocky than others. I was experimenting with different format sizes (32, 64, 128 Px2). Strangely, when I go to apply (copy & paste) pixel icons in 64 pixels for the new icon image, the image turns blurry. If anyone knows why, could you comment about it?


All of these are enlarged to 512 pixels from their original formats. I've decided to do pixel works because it would be the easiest way to change the icon images. 


Some of them for routine things like my finances, work and some are for ongoing projects. I did them all in my Photoshop CS2 program (I've been meaning to get an upgrade soon for it).


I'll likely make more of these as I need them or I make stock art from them. Though there's probably lots of people who can do this themselves. Still, it's a possible venue to get my artwork out to others.

So, that's it for now.  If I make anything art-wise this current week, I'll post it up.  See you then.


Wednesday, August 2, 2017

Working out what works best for myself! - Early August

Hi y'all! I've been busy awhile with my artwork and other odds and ends.  Working on filling up my portfolio in genres that I've lacking recent pieces in.  I got some lingering ideas and DIYs out of the way, I'm also working on some of my social media sites, improving them for promoting myself.  And here I'm sharing some of the samples.
Azeem lectures his genie, 2017
Vector Feather Pattern, 2017
Vector Animals, 2017
JULY 21, 2017 - DeSerres @ Danforth & Coxwell
Triangular Sandwich Box Template, 2017
Black Box Easel, recently fixed up, 2017
What I'm hoping to get done very soon is create a bunch of assets that I can sell for some income.  Also getting hired on by a temp agency for some regular income to afford professional promotional materials (my printer won't print in black right now unless it's photo paper which I only got in postcard size) :(.  So I'll be busy doing that and hopefully have some news of my successes soon.

Sunday, June 18, 2017

3 Amazing New Works - Pixel Art + Video and Watercolours

In the effort of getting back on track with my artwork, I've been busy making promos in categories that I'm lacking good examples in.  Also I've been busy making more memory room for my computer, especially when I'm making art videos that takes up Gigabytes in my Mac Mini.

First up is the new pixel artwork, Underpass Rain. These are 600 times enlarged from the original file size (108 to 648 px).  I've made it based on a video clip I took on a day trip last fall. It started rainy on me when I pit-stopped at around Dufferin and Queen West and being in the underpass of the railroads' bridge as it was pouring, saw an interesting scene with the bright light, the rain and the creeping plant growth. So I decided to make a pixel art from that clip.

After checking out the works below, there's also an art video demo of Underpass Rain on my Youtube channel: https://www.youtube.com/watch?v=XvKxZ3jaiQQ

That'll be it for now.  Come back again soon for more new works soon.

Underpass Rain - Wall Background (No Rain) 
Underpass Rain - Final with Raindrops
Underpass Rain - Animated

Oh, and lastly here are a couple of watercolour urban sketches from my recent day trips. Since buying some floral water vials with rubber caps and making wire clips for them to clip to my portable watercolour kit, I've been trying to do more urban sketches with watercolours rather than just colour pens and highlighters.


Wednesday, March 15, 2017

Inserts from mural project

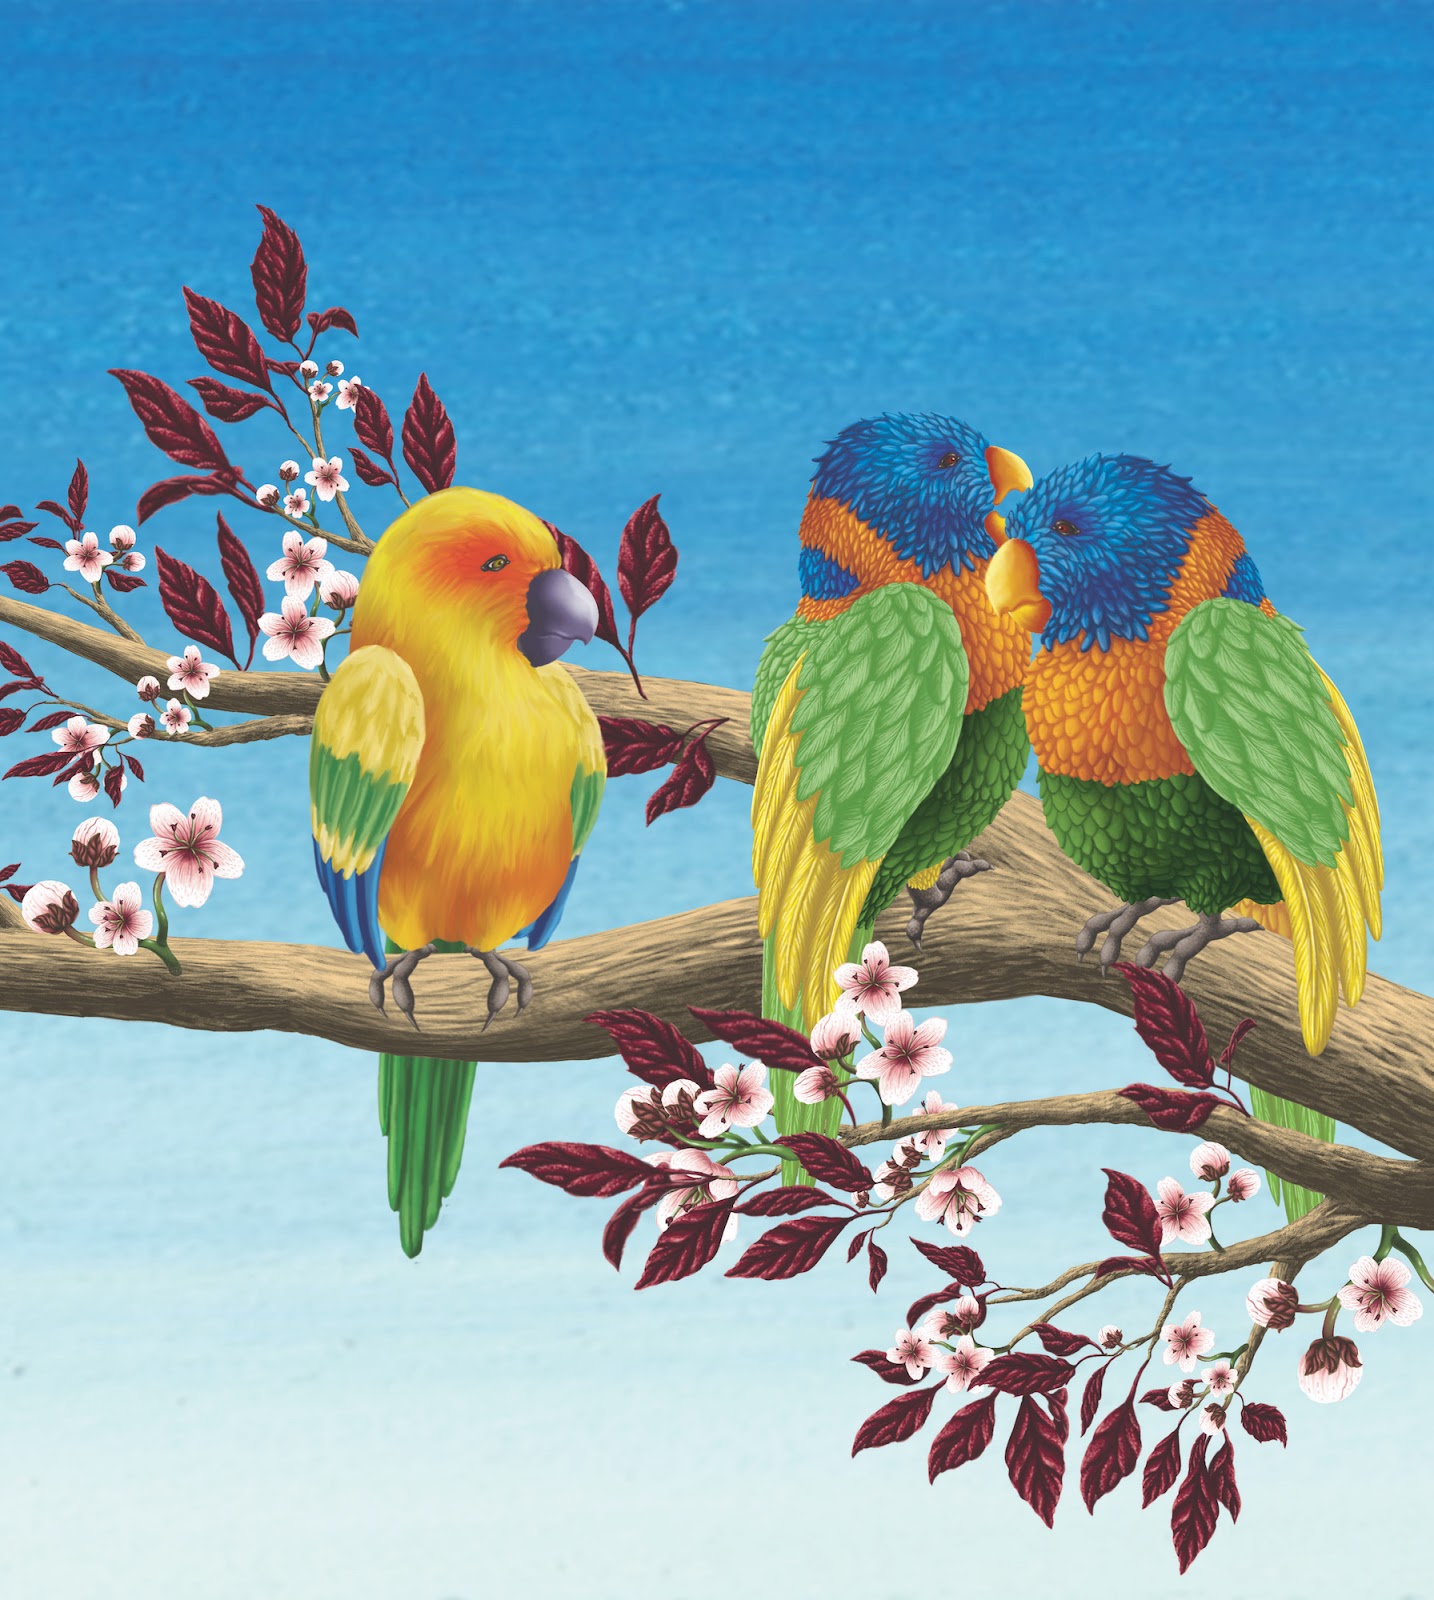
I've been busy with painting mural panels for the last 2 weeks.  Apparently I got a knack for painting birds and cherry blossoms.  Here are 3 inserts from the project.
Lovebirds, 2017 
Scarlet Macaw, 2017

Azure Winged Magpie and Blue-and-Gold Macaw, 2017

Wednesday, February 8, 2017

One-Day Character Design, plus a bestiary on Shadow Clowns

I managed to do the 4-piece image below in one day.  For anyone not knowing about this creature, it's one that I've made up of my balloon clown creature but as an evil ghostly clown version. 

One-Day Character Design - Inked Sketch (Top Left), Cleaned up Computer Image (Top Right), Fully Inked and Watercolours (Bottom Left) and Photoshop Colouring Image (Bottom Right).  
So I officially called it a 'Shadow Clown'.  They are airborne flyers like Balloon Clowns but with a more carnival goth fashion and notoriously terrifying.  Due to the use of an unknown plant resource for making a stronger rubber membrane, these alternative kind of Balloon Clowns became tougher and almost un-popable.  However it caused them to become less colourful, behaving creepier and mischievous and slowly gaining magical dark shadow powers over time. Becoming more drawn to these dark powers, they use them with their decorative yet frightening appearances to scare and/or place satirical curses on their victims.  They have also shapeshifting abilities to change into terrifying monster forms or into deceitful forms like an elder man/woman to mislead their victims into traps. The Balloon Clowns soon feared these "warped clowns" and forced them to leave from their homeland of Ballogna.


Their dark magic and their bodies are fuelled by fear and anxiety, the greater the terror they wreak upon people, the more negative essences they can harvest to strengthen themselves.  Some victims can ended up within some very warped chaos or be transformed into twisted new forms, depending on the clown's dark sense of humour and strength of dark magic, to be greatly mortified out of their fear.  It's even possible for victims to be converted into Shadow Clowns too for scares, though it is rare since the Shadow Clowns usually don't like to create rivals or share their "haunting" grounds with too many of their own kind.  They tend to wear obsidian amulets and other dark stone accessories to contain their victims' harvested fears, though they can just absorb or eats the fear essences mostly.


Their only surefire weakness is sunlight as the strong light on skin contact burns and boils on them.  Bright flashes of lights can be used against them to briefly blind them while victims flee or spotlight beams can pin them down to paralyze or disempower them.  They could then be burned with fire or even popped like Balloon Clowns. Bottling them into magic-sealing containers is another alternative to capturing them, even to be use for others' services like genie slaves by savvy owners. Due to their solar weakness, Shadow Clowns avoid being out during the daytime so to avoid being burned away to black ashes. The exception is when there's thick cloudy skies, thick smoke or fog to block out much of the sunlight.  


Anyone's hometown that is plagued with Shadow Clowns avoid being outside in the nighttime to keep from being cursed. As well leave on bright lights throughout their homes to minimize shadows that those creatures can travel through or hide within.  However the curses, no matter how terrible, are not permanent; after some time in the daylight, what or who was cursed is cleanse of the dark magic and revert back to their natural states. For Shadow Clown-converted victims, they can remain as Shadow Clowns if they so choose by avoiding the sunlight thereafter. The dark essences and magic eventually in time permanently settles into them as they haunt and curse others for power and longevity.  


I got inspiration for the look from a classical christmas special called 'Nilus the Sandman: The Boy Who Dreamed Christmas' with a character called the Toymaster (plus some other evil clown images).  


An earlier sketch and rendering of some generic Shadow Clowns.


Sunday, December 18, 2016

More like Graphic Design

Okay, so lately I've been looking into how much kinds of work I have and I'm noticing that I haven't been making anything to showcase for retail.  I was making gondole pricing tags from my past temp job for the Toronto's L'Oreal Warehouse Sale as a pricing associate.  Mostly I had to print and laminate the gondola tags made at their headquarters (gondola as in those shelving stands common in retail stores) and place them on the correct spots at the sale's location, including editing and replacing them as prices changes in Adobe Photoshop Elements.
Sand Checkers Club, 2016
The job did gave me the knowledge about coordinating the product's info and imagery together into an appealing yet understanding composition for any reader.  I had done some school postings before so I already had some amateur experience with this.  Anyways, these are samples of event postings and pricing tags using my own artworks (excluding product photographs); none of them are for authentic store prices or events.

Annual Winter Solstice Fair (Postcard Ad), 2016
Since I'm considering applying for jobs that deals with making these, these are for my portfolio for graphic design-related works.


Gondola Pricing Tags, 2016
Lance Blush (Bin Labels), 2016

Multi Brands Makeup (Bin Labels), 2016

Wednesday, November 16, 2016

Might've went a little overboard for doing a quick commission style...
Original Sketch, 2014

Green Mother, 2016

Tuesday, October 11, 2016

Grocer's Aisle

Grocer's Aisle, 2016
Here's a new banner piece, made for the splash profile webpage for my Freelancer.ca account. You won't get to see the whole piece on Freelancer but that was to be expected with the site's default setup structure.   I'll need to update my portfolio pieces there as well over time.

So with this new piece, I wanted to make more pixel-based works.  It's based off a photo I taken on a recent day trip to The Beach neighbourhood.  There's one grocery store that has a hanging trellis, attached with baskets and leaves.  It looked like a really interesting installation so I took a few snapshots.


The banner piece had to be made at the format of 550 H x 1920 to 3840 L for Freelancer, so the work may appear too small for seeing the details of each pixel. Surprisingly, it takes a long while to do pixel work as it does for a painting.  Normally, pixel works are small, even the animated gif ones but this was a large scale project so it was taking several hours to work on each section.  Here are some enlargements of each section, 2X to 3X the normal size to see the details better.


Some of the products are parodies of what brands I've had or seen.  Like Coke bottles, Arizona tall canned iced tea, Baci Chocolates, Honey Bee plastic bear bottles, etc.  Looking at grocery store photos from the internet also helped with seeing the different kinds of packaging that our foods and drinks come in.  For the racks and doors, Photoshop had allowed me to make translucent layers to show glass panes, bottles and plastic containers.  Using its Edit > Adjustments > Hue/Saturation option also allowed me to make quick recolour copies. Not for all of them though; I applied some better colour tints/shades choices with the computer's adjustments.  


Like most Photoshop/Illustrator works, I make many layers for each part: The booth with solid colour backing, the shelves, the baskets, the gondola labels, the produce, etc.  For an easier time of making identical items for different recolours/redesigns like the jars, I have one layer for the contents (the jam/jelly) and another for the container (the glass jar with lid). The jar layer is translucent (half see-through) and separate so I can easily cut & paste the layer's pixels over and over.  For the more solid items like the peppers, onions and tomatoes, I saved a template of each item for later use on a hidden sample layer. Then I can just recolour, cut & paste them in a group of items (with a little touch-up of values).  The exceptions here are the pumpkins and melons as I made individual layers in a group layer folder.  


For some items like in the Shelves section, I made a double layer of some products to be place behind the original.  I did 2 methods of darkening the double layers behind: one was setting the eraser tool to 50% opacity to make the pixels translucent to allow the solid colour backing to make the items appear further back on the shelves and the other, I took the solid colour from the shelves' backing and coloured over them after using the wand tool to marquee them and setting the pencil tool to 30% opacity.  The difference between the 2 methods are that the first one is more see through while the latter is solid with the overlaying brown wash. The first method I used mostly for the plastic packaging.


While digital imaging programs do make it easy to copy other items to recolour in the same scale size, it's not so much when you custom-scale your cuts for a larger or smaller one.  Clicking off the anti-alias option for the marquee/selection tools helps with keeping the colours pixels inside the selection from bleeding, having a cleaner edge as you custom-scale and paint with the pencil tool.  For Photoshop in Edit > Preferences in General section, you can change the Image Interpolation to Nearest Neighbor, which would allow you to custom-scale your selections without the pixels' colours mixing with one another.  
Even then, the detail of the original markings don't keep as well as vector graphics in Illustrator.  A little of touching up will always be liking as detail is lost or stretched out when you custom-scale.  For these enlarged inserts without losing the original details, I've scaled them larger from 100% to 200-300%, by hundredths easily.

If you want to see the advice that helps with changing the Photoshop settings to make pixel artworks, here's the link to a Youtube video by Luiz Zuno, a very talented game graphics artist: 


If the video doesn't explain all your questions on this, there's plenty of other Youtube time lapse videos by artists that regularly upload their progress on their works online. Or maybe pay for a Udemy course on making pixel art/game graphics.  I would recommend 'Pixel Art for Videos Games' by Marco Vale which I've taken and learnt a few new tricks on Photoshop for it.  It's also a lifetime access upon a purchase of $40 approx. (Look out for discount coupon codes in your emails) so it's of good value.

I don't tend to (not yet anyways) record my progress on my work as I seem to complete these things slower than the estimated times I read from other artists' times.  To be fair, they are usually smaller sized works, about 700 px or less, probably. This one took me over a week to work on with a few hours each day.   I should try to do smaller formats when doing future pixel works. 

Well, onto the next work of art...